
François:
Dear readers,
As promised, today I will introduce you to the topic of Hügelkultur! Because I’ve read and learned a lot since the previous blogpost, my opinion on it has changed, also I will try to give you an extended and contrasted view on its principles, critics and alternatives.
The term Hügelkultur, borrowed from German, means “mount culture”. It consists, essentially, in building elevated beds out of woody materials, garden debris, and soil arranged in a tunnel-shaped bed (cf. picture below), named “Hügelbed“. The idea behind is to, supposedly, replicate the decomposition process occurring on the forest floor. Although its first occurrence in a published work is dated back to 1962 -in a German booklet by Herrman Andrä-, this technique is said to be inspired by German and Eastern European gardening traditions.
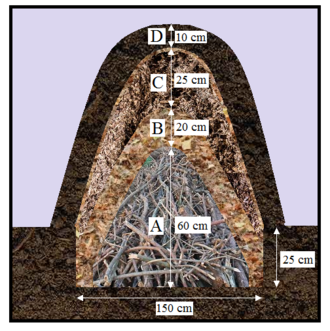
Schematic view of a classic Hügelbed. A: branches; B: leaves; C: manure; D: soil.
(image credit: Kiss Veronika)
Andrä referred to Hügelkultur as “die Gartenbaumethode der Zukunft“, the future’s gardening method. It has found plenty of advocates among the supporters of biodynamic agriculture- Andrä himself being admirative of Steiner’s work-, and later in the permaculture circles. Its promoters put forward these main advantages:
- By accumulating a lot of organic matter, it improves soil fertility;
- The logs and branches become spongy through time and thus offer good water retention properties, as well as some of the advantages of tilling without its drawbacks;
- The decomposition process generating heat, the beds will be warm earlier and later in the season, lengthening the overall growing season;
- The bed being 3-dimensional, it creates a greater surface area for growing plants;
- It is a good way to recycle wooden debris, like branches from pruning, that will provide a slow release of nutrients for plants, as well as being a food source and habitat for microbes and insects;
- Hügelbeds can be, to an extent, easier to maintain due to their height relative to the ground.
There are several methods to build a Hügelbed:
- First of all, the classical one, on the picture above. Dig a pretty deep hole a fill it with big logs. Go on with the same process using smaller logs, then branches and wigs, leaves, manure and soil, until you reach about 2m height. The main problem of this technique is that it requires a lot of work and logs;
- A medium solution is to dig a shallow tranche and then fill it with smaller logs, to reach this time 1m height. It can then be used as a raised bed, framed or not;
- You can also not dig anything at all! This is actually what we are doing in our own garden;
- The last and easier way is to fill a framed raised bed that is already constructed.
No matter what method you’re using, it’s always a good idea to place the logs and branches parallel to one another. It will indeed be easier to fill the gaps with soil and manure later on. Don’t forget to add your nitrogen source -should it be manure, leaves, compost, or everything at the same time-, wood being rich in carbon only. Although most of the wood species are suitable for Hügelbeds, stay away from trees like black walnut and cedar, since they might kill plants nearby- not to mention that cedar also takes a lot of time to decompose. Finally, if some will argue that it’s possible to plant right away on the mount, you might want to wait for at least a year for the wood to start decomposing.
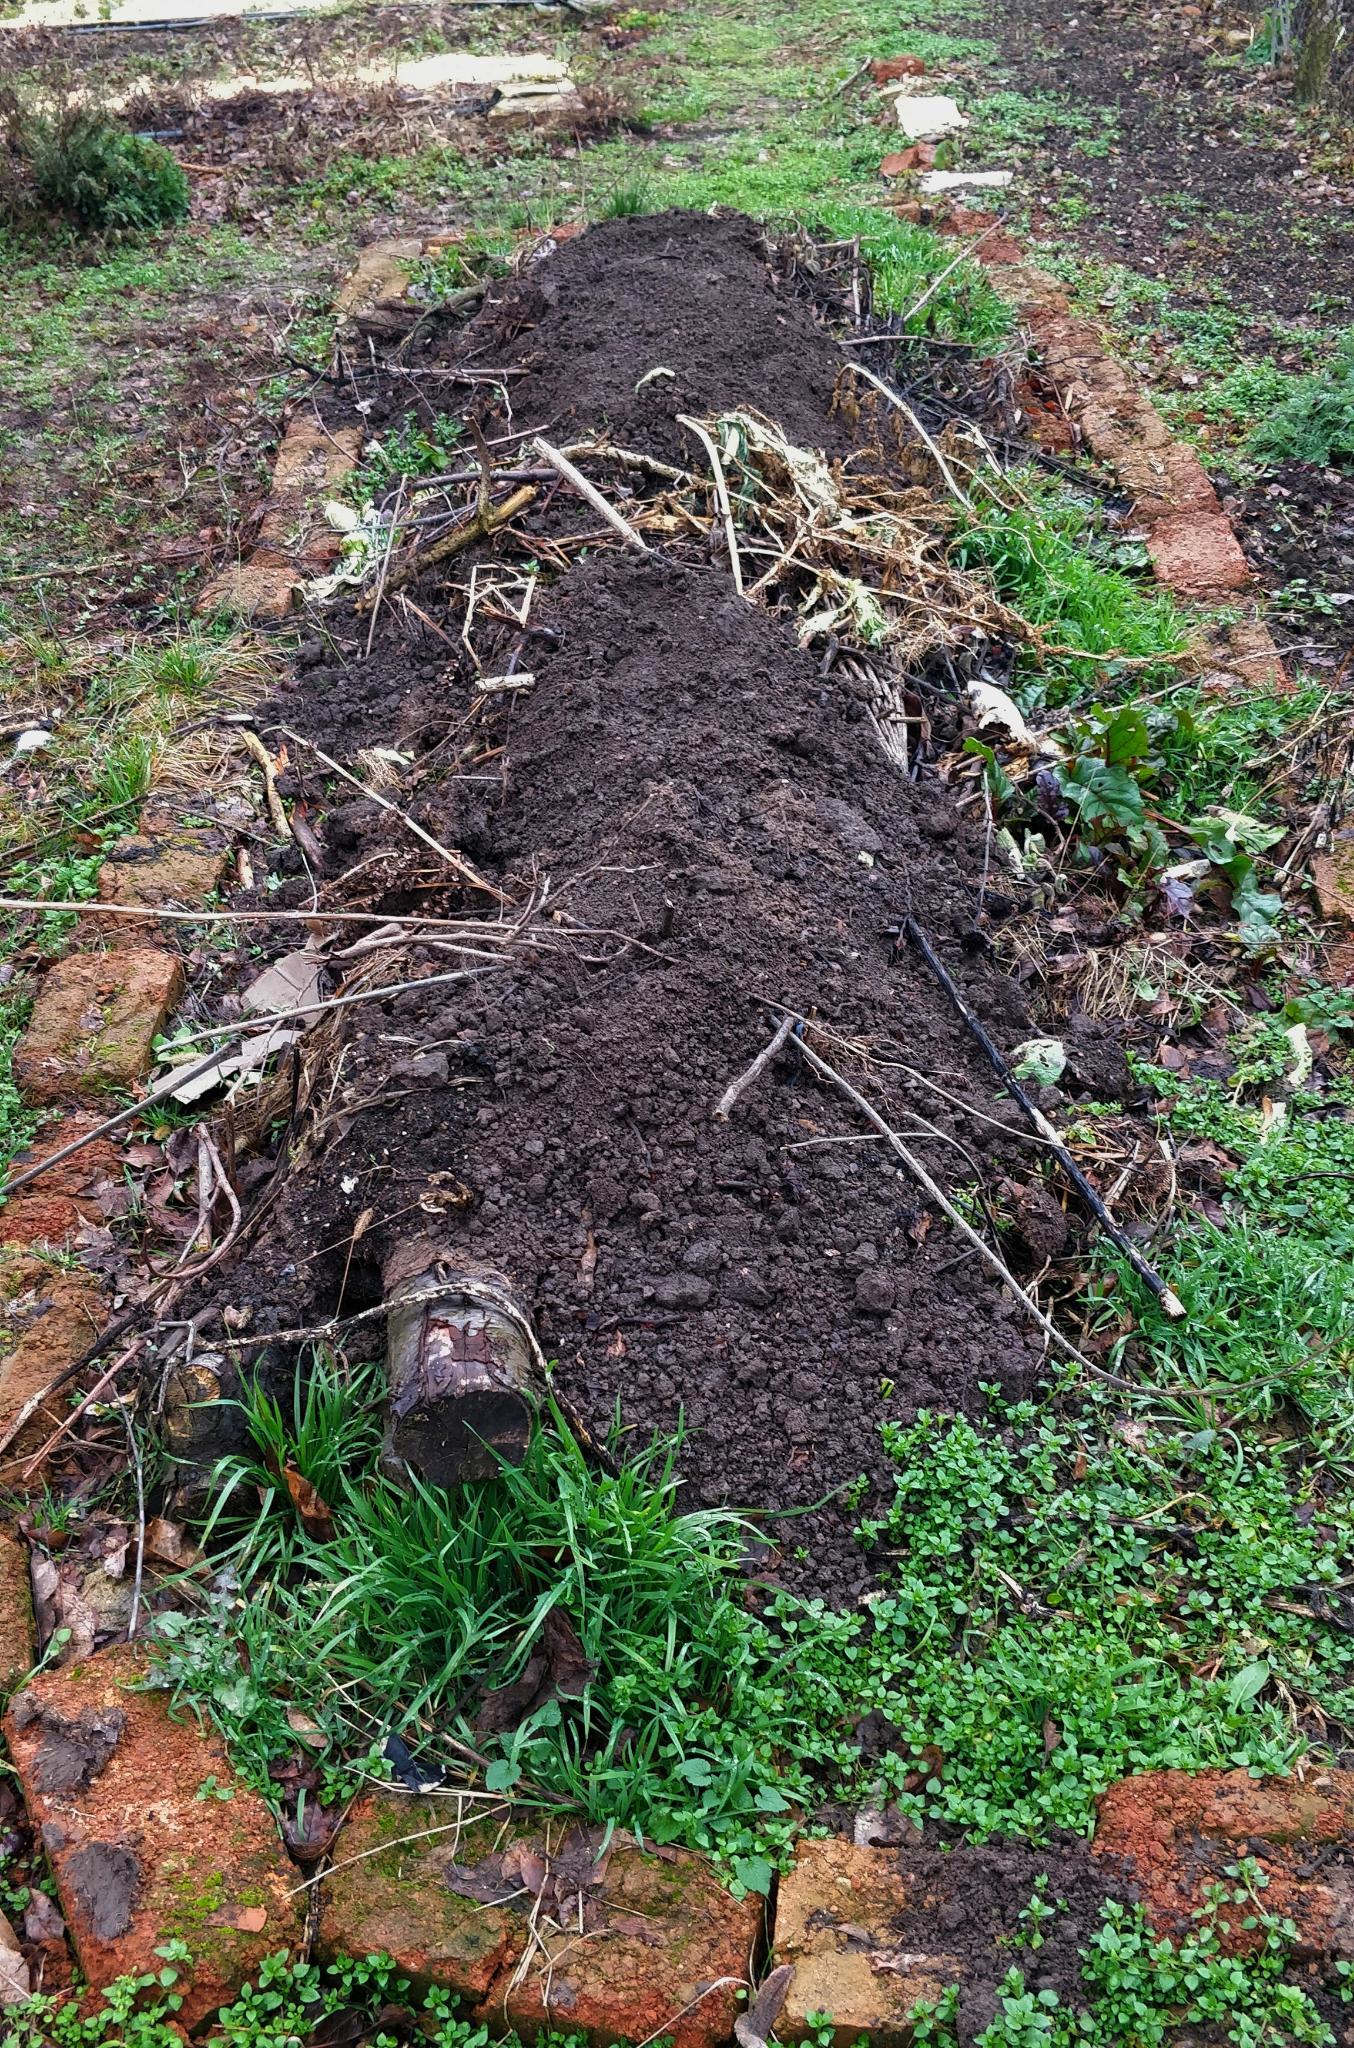
A Hügelbed in construction in our garden (photo credit: François Dupé)
However, keep in mind though that, just like any other gardening technique, Hügelkultur also has drawbacks and critics, and might not be suited to all types of garden. Most notably, there are no peer-reviewed studies having checked its actual efficiency. Some other problems of importance are:
- It’s great to want to increase soil fertility, but soil can also be too rich in organic matter! Decomposing organic material can release excessive nutrients and thus contaminate soil or shallow water tables. It’s not very likely, but the issue is important enough to be considered;
- Growing plants on a mount requires special attention. In particular, Hügelbeds are very sensitive to weeds, unless mulch is used. The mount will also shrink as it decomposes, which is why it is not recommend to plant fruit trees and bushes in them;
- Mounts that are too high may prevent plants’ roots to reach deep soil;
- Although it is supposed to replicate forest floor, in reality wood is at the forest’s soil surface;
- There are lots of other ways to use dead logs or branches, some of them may be more interesting for your garden than used for Hügelbeds. Think carefully and consider all the options: you could build benches, frames for raised beds, fences, draw paths, burn them, sell them, use them as a nurse logs…
As a conclusion, it is crucial to be aware that Hügelkultur is nothing near from a miracle technique. But it is actually very diverse and has a lot of good ideas to offer, which you can use separately or all together. As I’ve shown, there is a huge number of parameters you can play with: the ratio of wood/manure, the height, the wood you’re using, the time left before usage, the number of layers, even the very usage of layers, etc. You can also decide not to use the mount as a bed, but wait for several years and then just spread the resulting soil on other existing beds. Gardening is not an exact science, and be always cautious when it comes to magic recipes that you should follow strictly. The most important is to make experiments, to seek advice from experienced gardeners, and to embrace and value diversity!
Again, here are some links of interest if you want to dig deeper into this topic 😉
- Hügelkultur: what is it, and should it be used in home gardens? Linda Chalker-Scott, Washington State University
- Understanding Hügelkultur – How and why to do it, Gardenner Scott
Paula:
Welcome one week more to our blog!
Without realizing it, January has almost come to an end, and I have to say that the high temperatures of these days made me feel in Spring… But I am sure that cold days are not over.
What is one of the most essential tasks for every gardener? Yes… PLANNING! It is really important to know in advance what you want to have in your garden throughout the year. First of all, in order to be more efficient, we created an Excel file with all the seeds from Venets’ Seed Library and divided them in three main categories: Vegetables, Flowers and Herbs. We included the name of the plant (in Bulgarian, English, and Latin), the number of seeds, where they come from and information regarding the sowing time. In total, we have more than 200 species! Then, all the beds from the Red House were measured, and the layout of the garden was mapped by François. The location of the different plant species was also noted to implement crop rotation and we decided where to grow each vegetable.
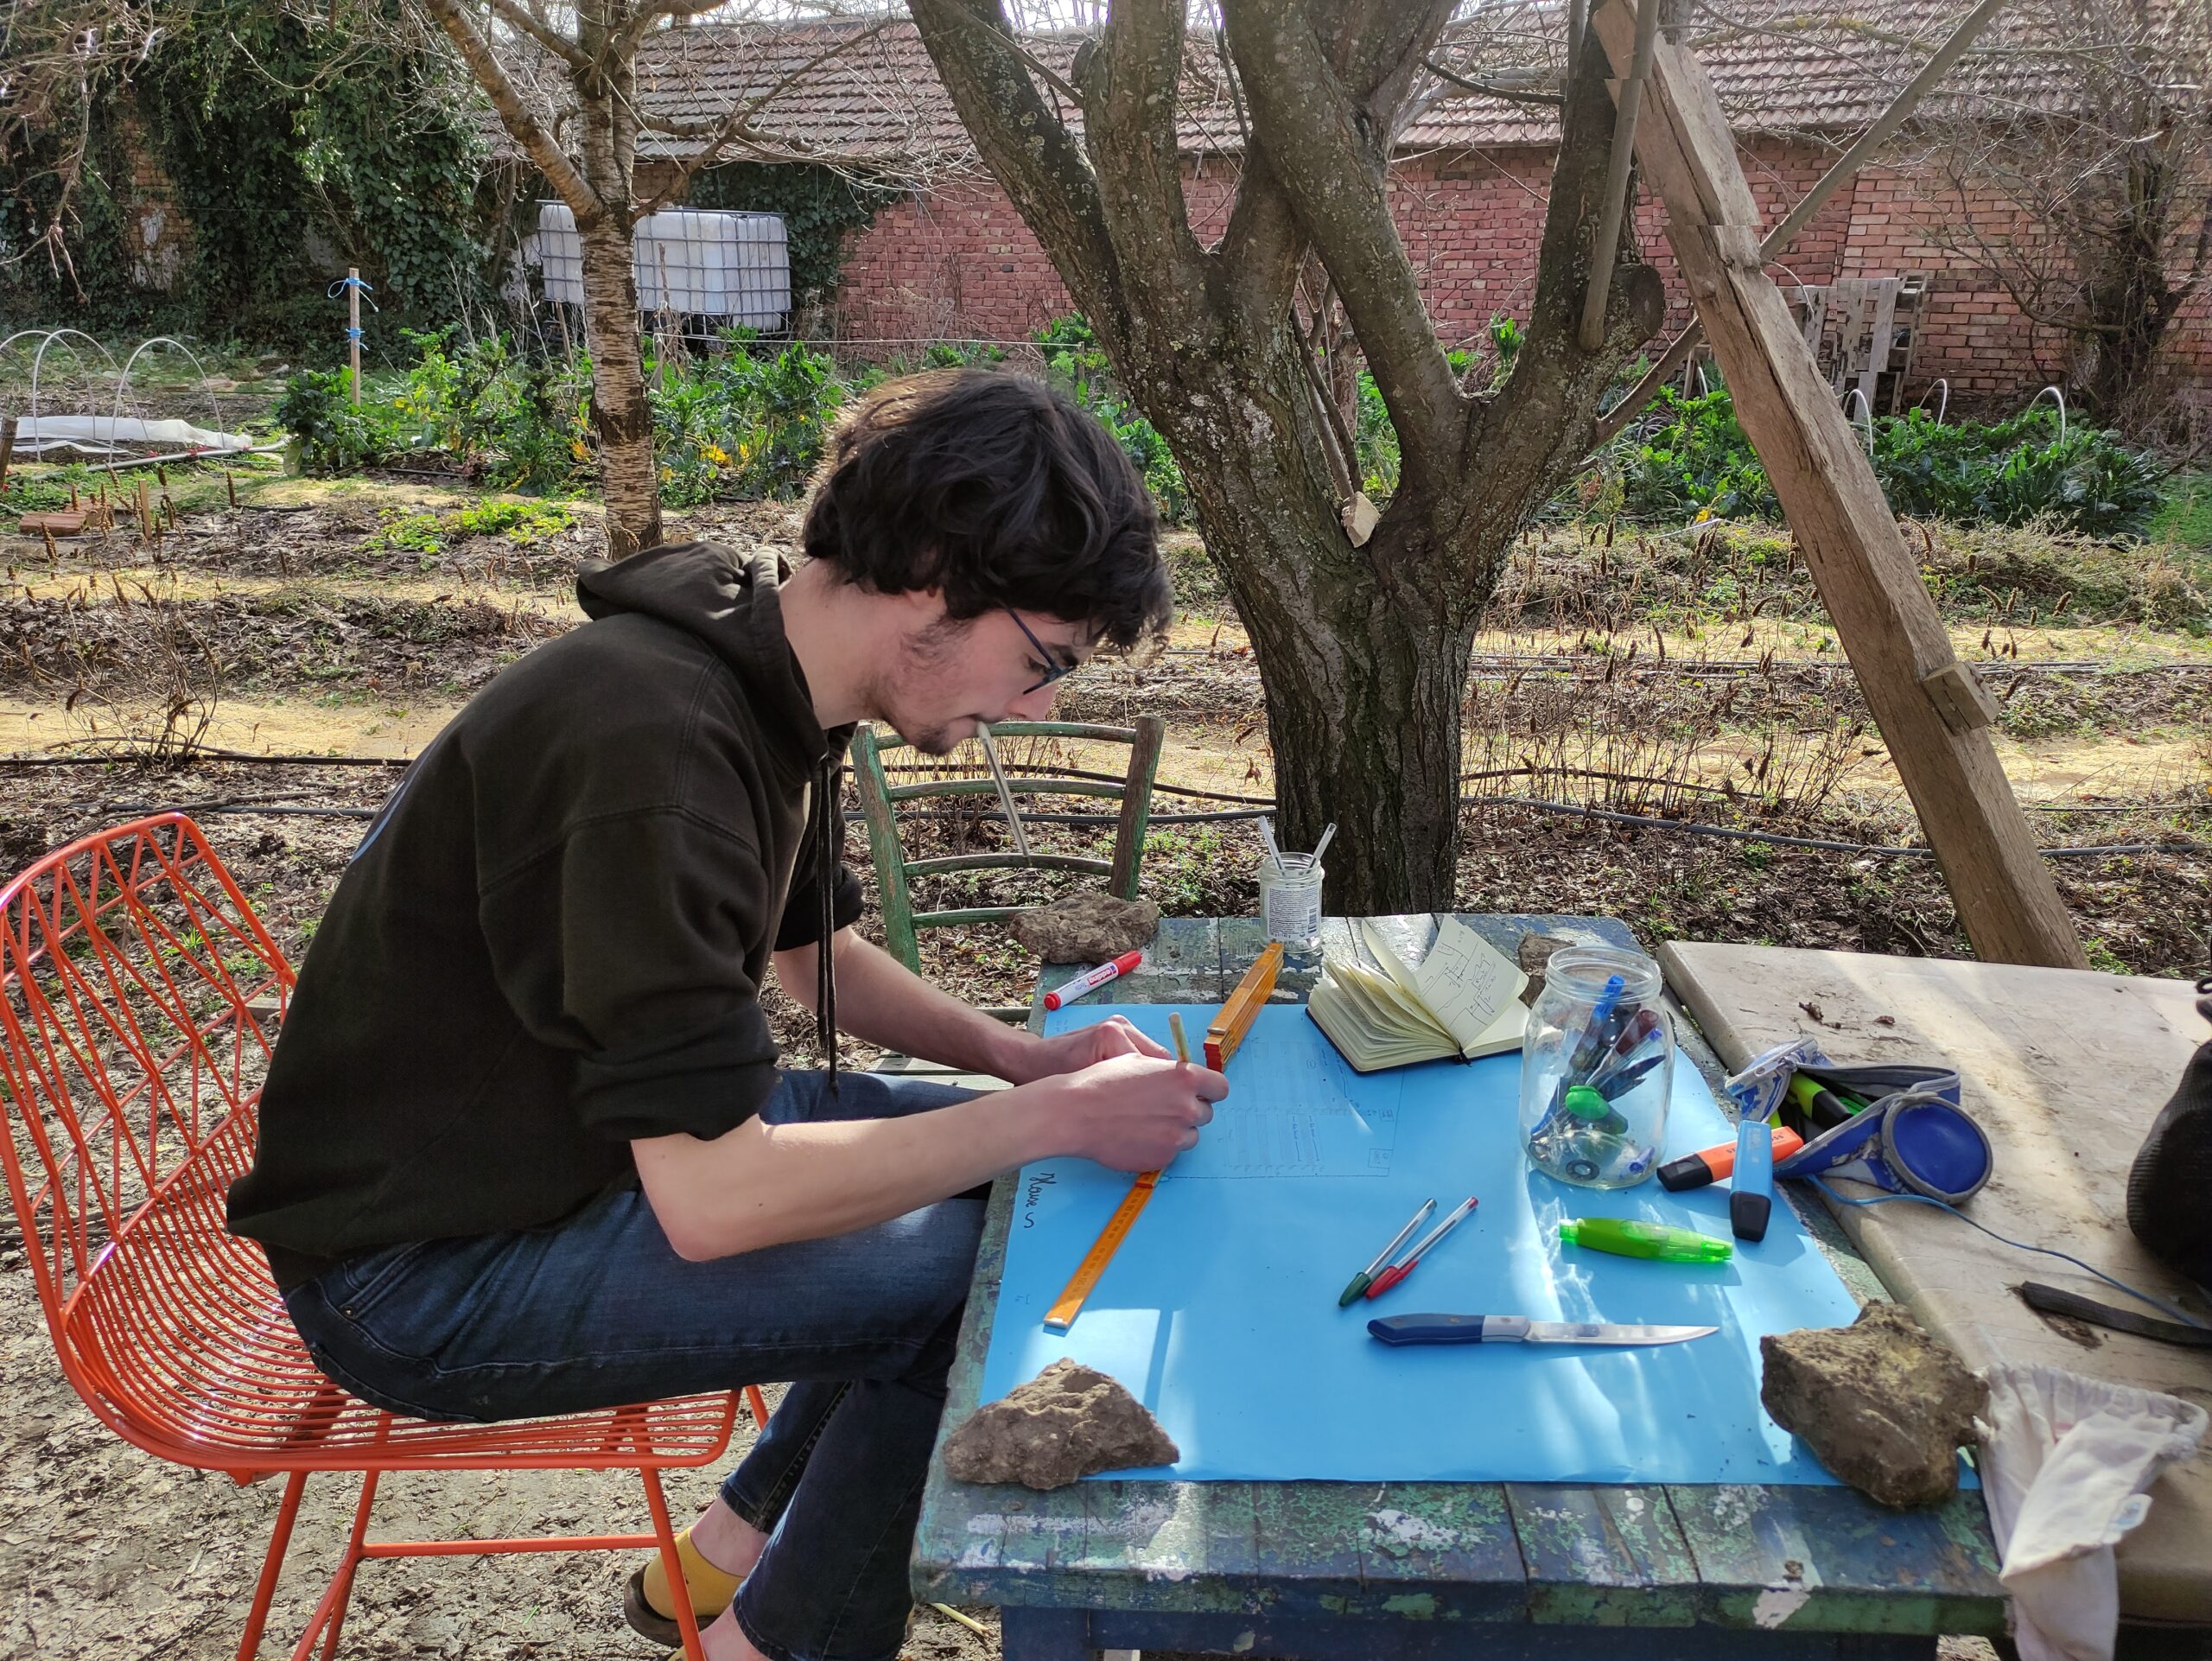
François focus on the amazing map he did of our garden. (photo credit: Paula Ochoa Sánchez)
My favourite moment was when we all finally had a meeting to share what we would like to grow in the garden. For each chosen plant, we check if it was possible to sow it directly on the soil or if seedlings were needed and we made a timeline with all the duties for every month. As we want to have a consistent supply of harvestable produce throughout the season, succession planting was also planned.
This week we also experimented with microgreens! Microgreens are vegetable greens that have three main parts: a central stem, cotyledon leaves, and typically, one pair of very small, partially developed true leaves. When the stem is around 35mm, microgreens are harvested cutting just above the soil line. They are different to sprouts which are just germinated seeds, so they have no cotyledon and include the root. We took red amaranth seeds and planted them densely in trays. They should be ready in 2 or 3 weeks, so I will keep you updated about how they grow and taste!
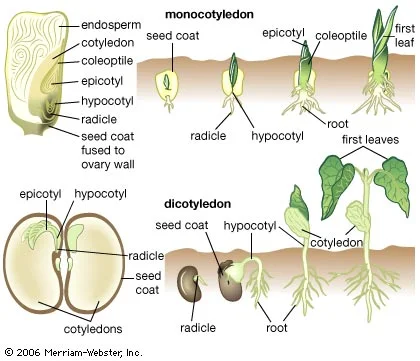 Development of a seed during the germination procress, last drawing would correspond to microgreens. (photo credit: © Merriam-Webster Inc, Encyclopædia Britannica)
Finally, we focused lots of our energy on writing the Solidarity Project. We had the first meeting with people from the village that are interested in it and try to explain it simple. Of course, our Bulgarian knowledge is limited, and Vyara was in charge of leading the meeting.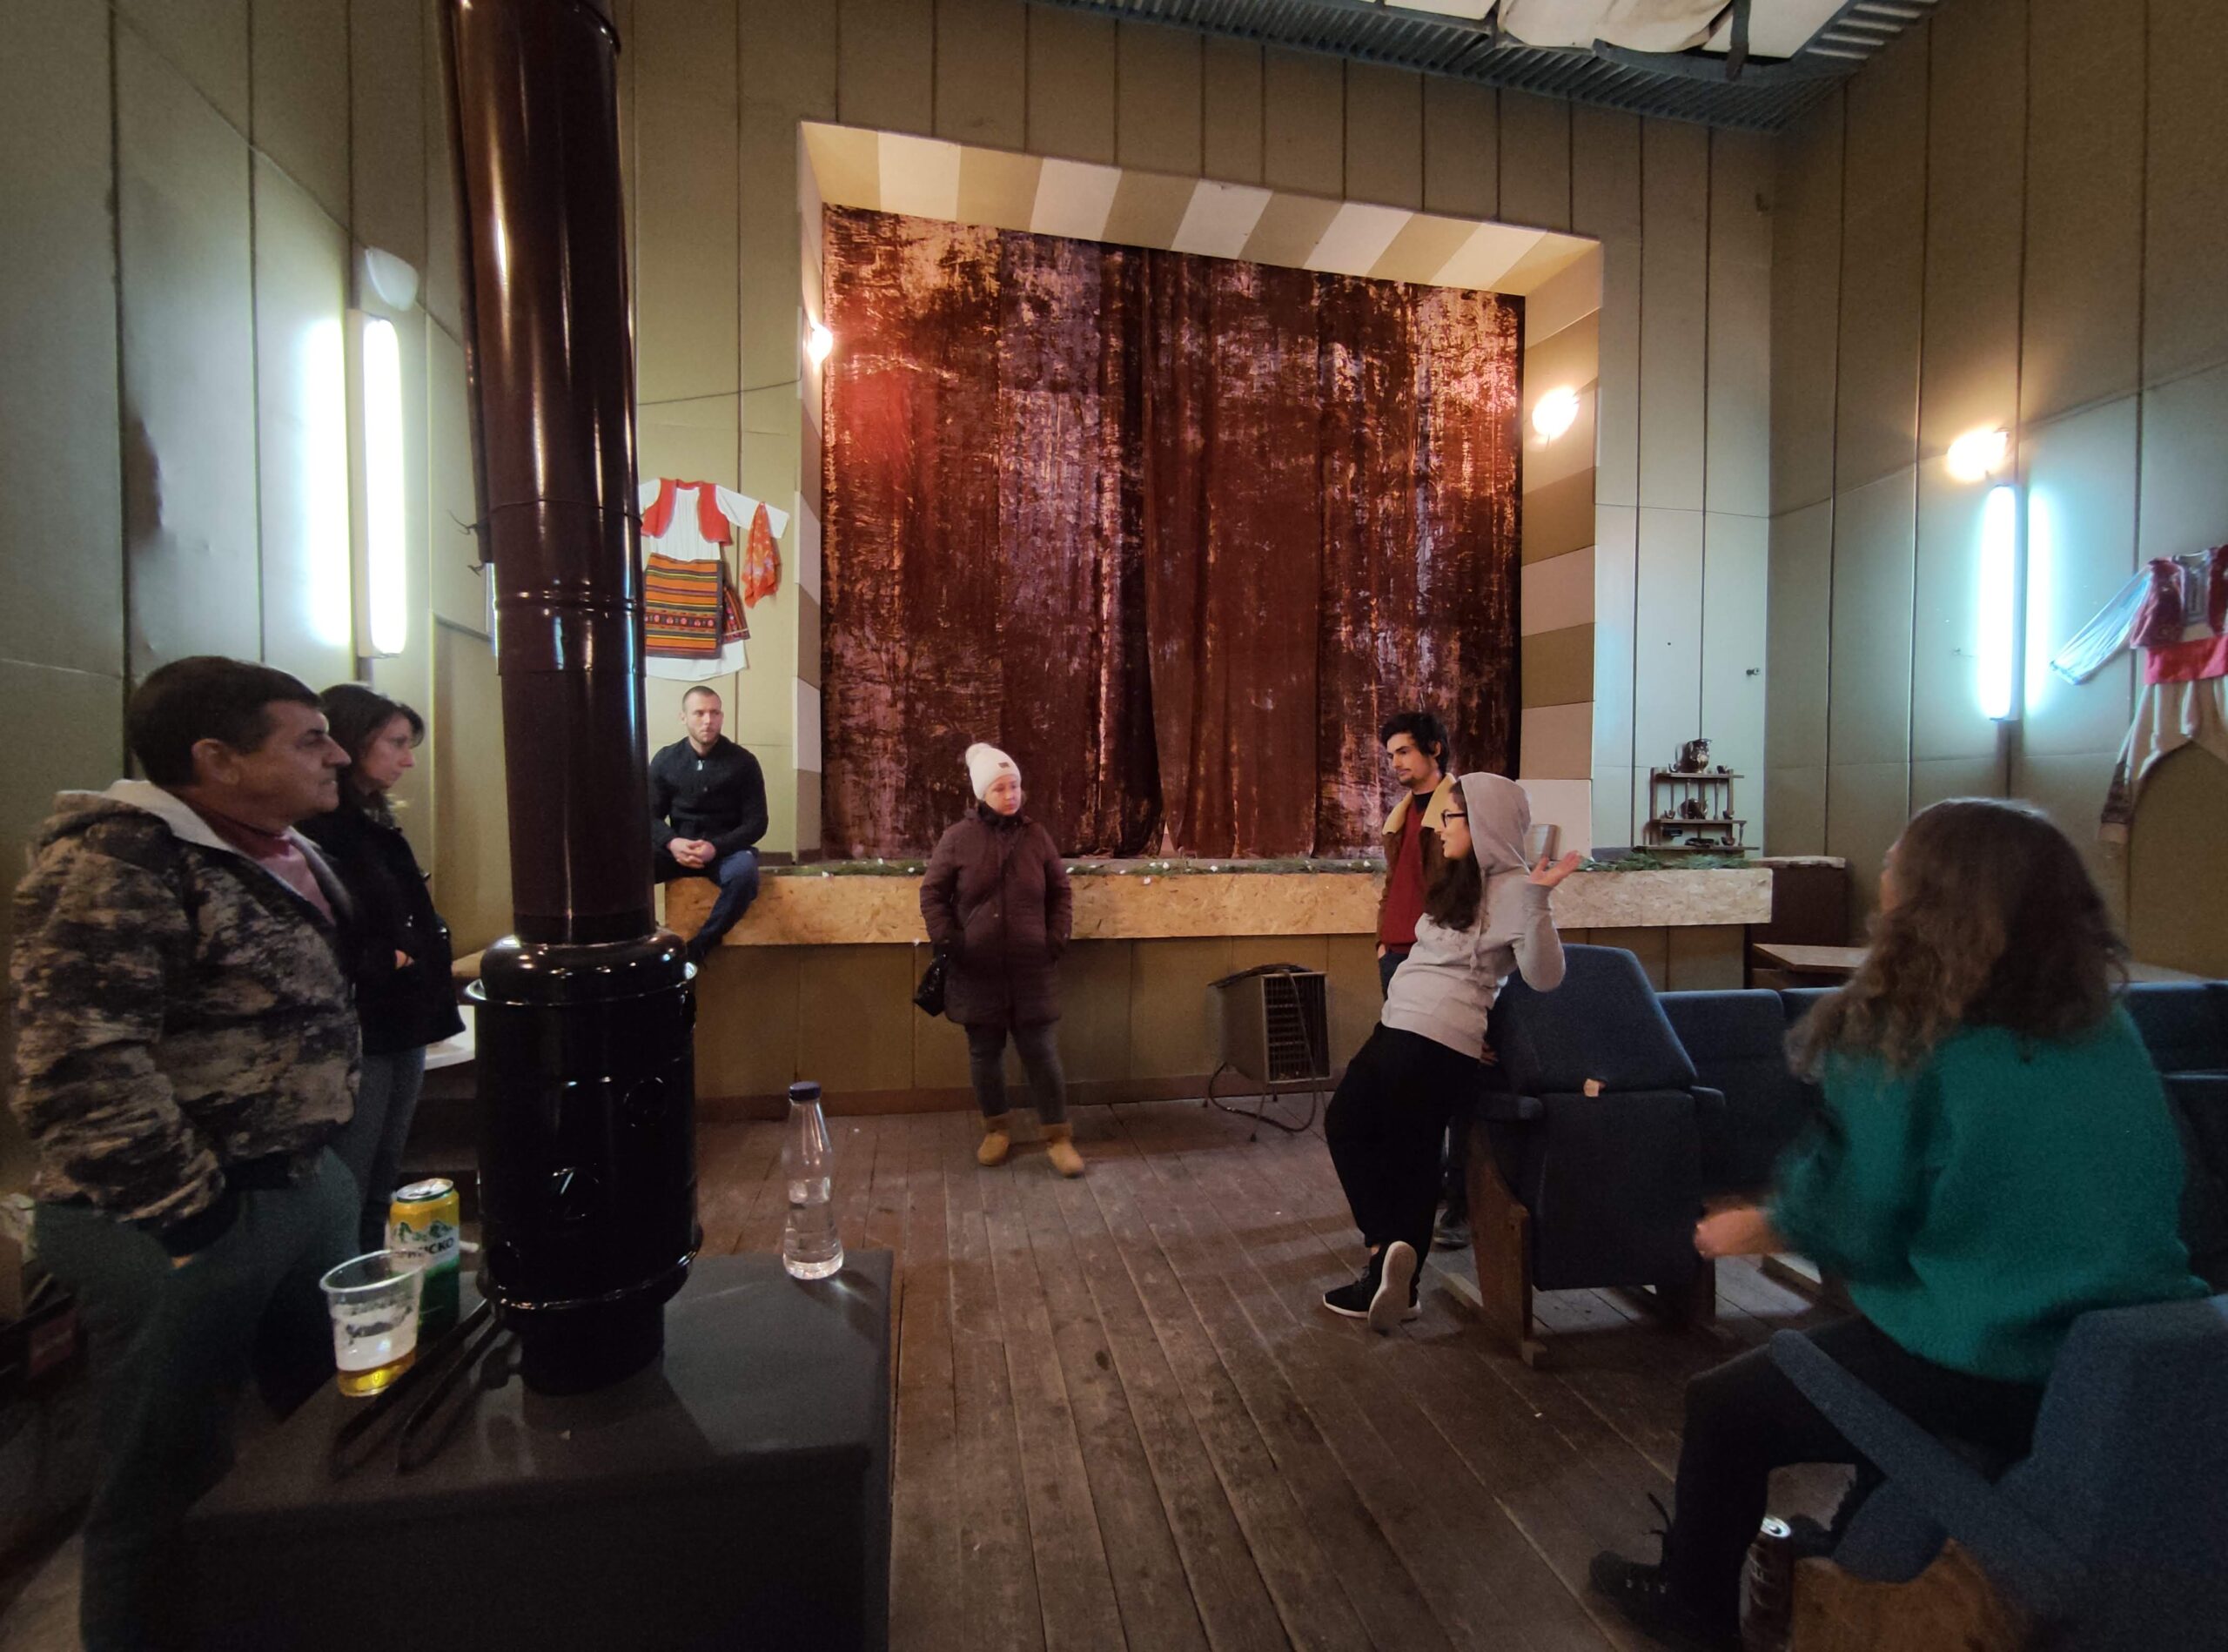 Meeting at the cinema that hopefully will be fixed with our Solidarity Project. (photo credit: Paula Ochoa Sánchez)
![]()