
François:
My fellow gardeners,
This week we are very pleased to welcome Anastasja and Peter to our team! I will let them introduce themselves 😉
No transition, here is the beginning of a new saga, this one about climate and its consequences in agriculture and permaculture in particular.
To begin with, what is climate? According to the American Meteorological Society (AMS), climate is “the slowly varying aspects of the atmosphere–hydrosphere–land surface system“, whereas weather “consists of the short-term (minutes to days) variations in the atmosphere“. So that climate can be understood as an average of the weather with respect to time. Even if, when we talk about global climate, we also average regarding to space, it is worth studying local climates, and even microclimates, which are thus the averaged weather with respect to time at a given point in space –at an even very small scale for the case of microclimate. This will be the topic of the first episode of our saga.
A presentation about climate should at first ask: what are the factors that make up the climate in a given place? This question, indeed, will later allow us to modify those factors, in order to create our own microclimates. There are many aspects that can influence the climate: solar exposition, topography, altitude, water bodies, built structures, and vegetation.
Considering microclimates in you garden is an important step in its design and should play a crucial role in site analysis. Remember that, as designers, we are interested in extremes and averages. Always start by inquiring about local climate and extreme events that have occurred in the past, such as droughts, floods or cold waves, to have an idea of what you should be ready for. Also, you should value traditional and/or indigenous knowledge, for it has been forged by centuries of practice.
Now, let’s have a closer look to the different factors that we identified:
- Sun is the main source of heat on Earth. By regulating the amount of sunlight that a given place is receiving, we can modify its temperature, and hence its growing conditions.
- Topography is the study of “the disposition of the major natural and man-made physical features of the earth’s surface” (AMS glossary). Mountains, hills and valleys affect windflow (cf. for example the Venturi effect), solar exposure and temperature.
- Water bodies help regulating the temperature, as they can store a big quantity of heat while slowly reacting to change. Typically, a lake or a pond will store heat during the day and restore it during the night, as well as they provide freshness during heatwaves. They finally have a role in reflecting sunlight.
- Built structures have a great role to play in climate. Just as with topography, buildings create shade or divert wind, although creating turbulence. Their hard surfaces also speed this latter up. Some remarkable effects are to be observed in urban areas, such as Urban heat island (caused by the absorption power of concrete) or the Rain shadow effect. You can also play with the physical properties of structures to create a desired microclimate, such as in a greenhouse (or cold frames), or painting walls with dark colors to store more heat -which also works with rocks.
- Altitude usually makes the temperature decrease, as well as the atmospheric pressure. In valleys and plains surrounded by mountains, however, the temperature grows with the altitude until a height called the thermal belt, before decreasing as usual. The thermal belt is the optimal place for growing crops on a slope, as it is milder than both the areas below it and above it. This phenomenon is called temperature inversion, and may cause fog or smog in a polluted area. To the opposite, it is possible to dig the soil to create a cold room for storing food with a minimum supply of energy.
- Vegetation should not be forgotten: although it is true that climate has an impact on it, the opposite is also correct. For example, trees in a forest provide shade as well as a windbreak -that produce less turbulence than solid structures- and a moist air. During the night, however, they trap the accumulated warmth and create a warmer environment. Trees also contribute to rain thanks to evapotranspiration.
Microclimates are deeply linked with ecological niches, which are environments where specific species will thrive. Having a variety of different microclimates, thus, help diversifying biodiversity -in which we are, as permaculturers, particularly interested. Creating microclimates can also allow you to extend your growing season, to grow crops that are not usually growing in your climate, or to simply increase your yield.
A microclimate’s properties may evolve during the year! For example, a deciduous tree that provide shade during the growing season will lose this property whenever its leaves fall in autumn.
Keep also in mind that climate is hard to predict, especially in times of climate change (that we will discuss more in depth in the following episodes). As such, we should allow space for variability in our designs, for example with mixing crops.
I hope this first part was of interest to you, and I’ll see you next week for talking about climate change and permaculture!
I you want to dive deeper into the subject, here is a list of the websites and videos that I used for writing this post:
- Free permaculture – How to effectively use microclimates for permaculture design
- Gardener Scott – Understanding microclimates
До скоро!
Paula:
Hello dear readers,
Time flies! Friday again… I hope you all had a lovely week. Yesterday, reading about plant propagation, I found a very interesting difference between potatoes and sweet potatoes that I want to share with you. But first there is some knowledge you need to have in advance!
In the previous post, François told you everything you need to know to grow the perfect seedlings. Seedlings are needed for creating a new plant, but it is not the only way. When using seeds for plant propagation you are promoting the sexual reproduction of plants. However, there is another form of plant propagation called asexual or vegetative reproduction in which a part of a plant is used to create another plant. Unlike sexual propagation, the plants obtained through this method are genetically identical, in other words, they are clones of the original plant!
Plants may be propagated from many different plant parts, here I will explain some of the most common ones.
- Runner. Strawberries have the ability of self-propagation. In order to find more suitable growing locations for their clone offspring they grow, they develop a slender stem that grows horizontally along the ground. This stem, also called runner, has buds and it is here where roots appear. When they touch the soil, new shoots begin to grow, forming a new plant. As gardeners, we can immobilise these buds in a pot with soil by placing a clip and wait until the roots are properly established. Then, you can cut the runner and you will have two identical and productive plants!
- Rhizome. It is a modified stem that grows underground and horizontally to the soil’s surface. Examples of edible rhizomes are turmeric and ginger. The function of this part of the plant is to store food, but as they grow, they also develop buds and nodes. This allows us to cut a rhizome into sections containing at least one bud (or eye) to grow a new plant. Just dip one of those sections into a pot with soil, water it, and it will shoot! Plants propagated this way include bamboo.
- Tuber. It is a swollen underground stem or root used as storage organs for nutrients in some plants. The great discovery of this week is that there are two kinds of tubers, and this changes completely the way of propagating them! Potatoes are stem tubers and sweet potatoes are root tubers.
As potatoes are stem tubers, you will find buds/eyes in their surface that with time and the right conditions will create a new plant. If your potato has more than two or three buds you can cut it into pieces containing at least one bud (remember: no bud, no new plant). The pieces need to dry out before planting them so the chance of rotten or infections decreases. The “lazy way” of planting them is making a trench in your garden, placing the small potatoes or the pieces with buds 7-8 cm deep, covering them with soil, mulching and watering. Then, you all you have to do is wait for the harvest and the time will depend on the variety you are planting.
Sweet potatoes are root tubers and you will not find buds on their surface. The key word for propagating them is “slips” which are sprouts coming from the sweet potato. You can get them by placing the sweet potatoes in water. It will take between 6-8 weeks for the bottom half immersed in water to develop roots and the pointy top half to form slips. A faster option (3-4 weeks) to grow slips is placing the sweet potatoes in soil under moist and warmth conditions. Once your slips are between 10-12 cm, you can remove them from the sweet potato and let them root in water. Finally, when the roots are fully formed it is time to plant.
I hope this post helped you to learn more about other ways to create new plants. Now it is time to go to the supermarket, buy your favourite varieties of potato and sweet potato and start planting your own tubers!
See you next week lovely people.
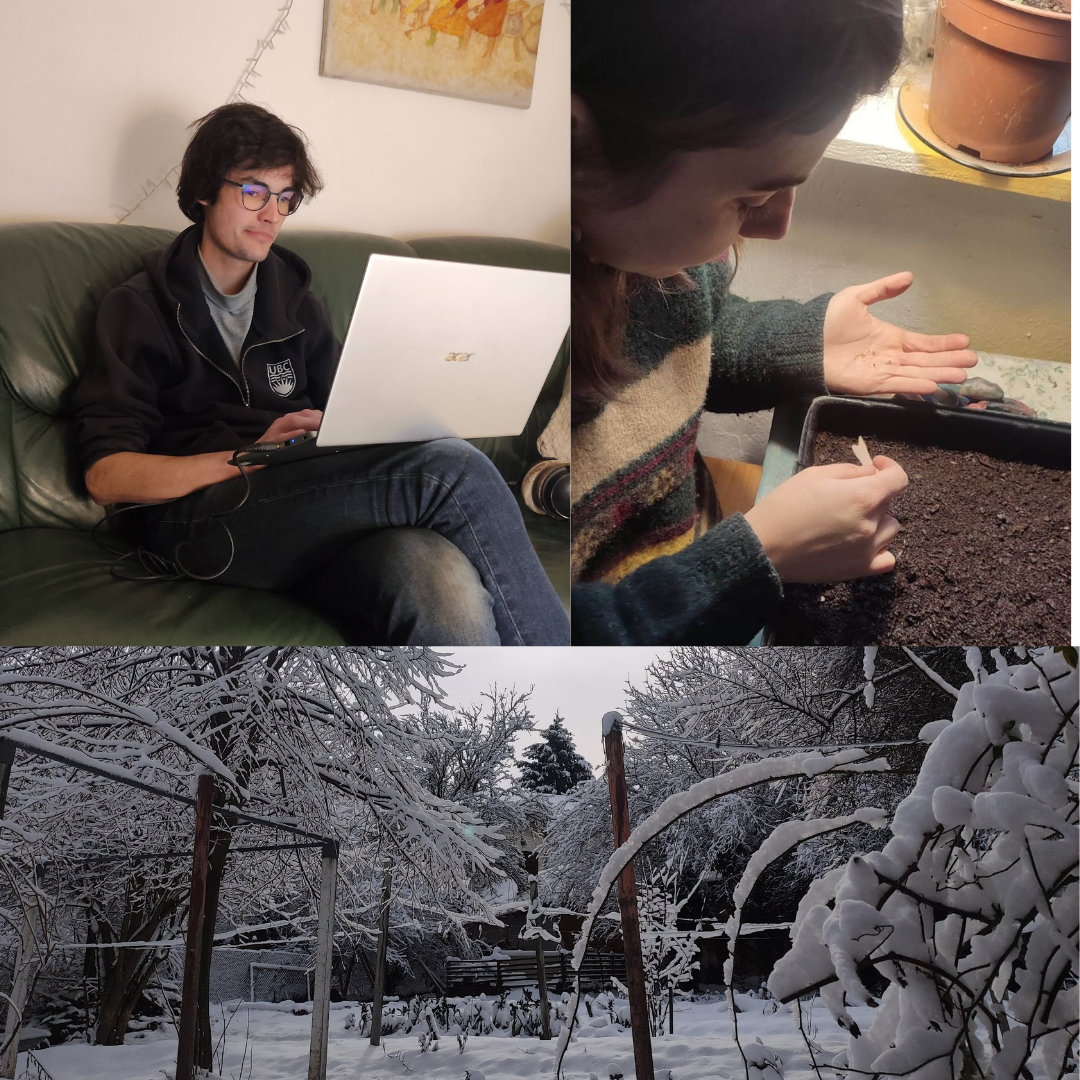
François and Paula working indoors, reading and sowing, as the garden is all covered in snow. (photo credit: Paula Ochoa Sánchez and François Dupé)
![]()