
Vyara T:
Hello, hello! Did you guys miss me? Probably not 😂
We decided to change the format of the blog a little bit, now each of us will write an event or something interesting they learnt during the week. That`s the agenda, until we decided to change it again, always adapting!
I must admit that our first week together, the three of us, had been challenging for me. I accumulated a lot of fatigue during my travels and getting used to everybody`s schedules and preferences proved to be a little tricky for me. The weather in the South of Bulgaria is getting warmer and warmer each day and we have to stop working around noon to avoid getting sunstroke. In situations like this I remind myself that every beginning is hard and adapting to new places and people takes a little bit of time and a little bit of energy.
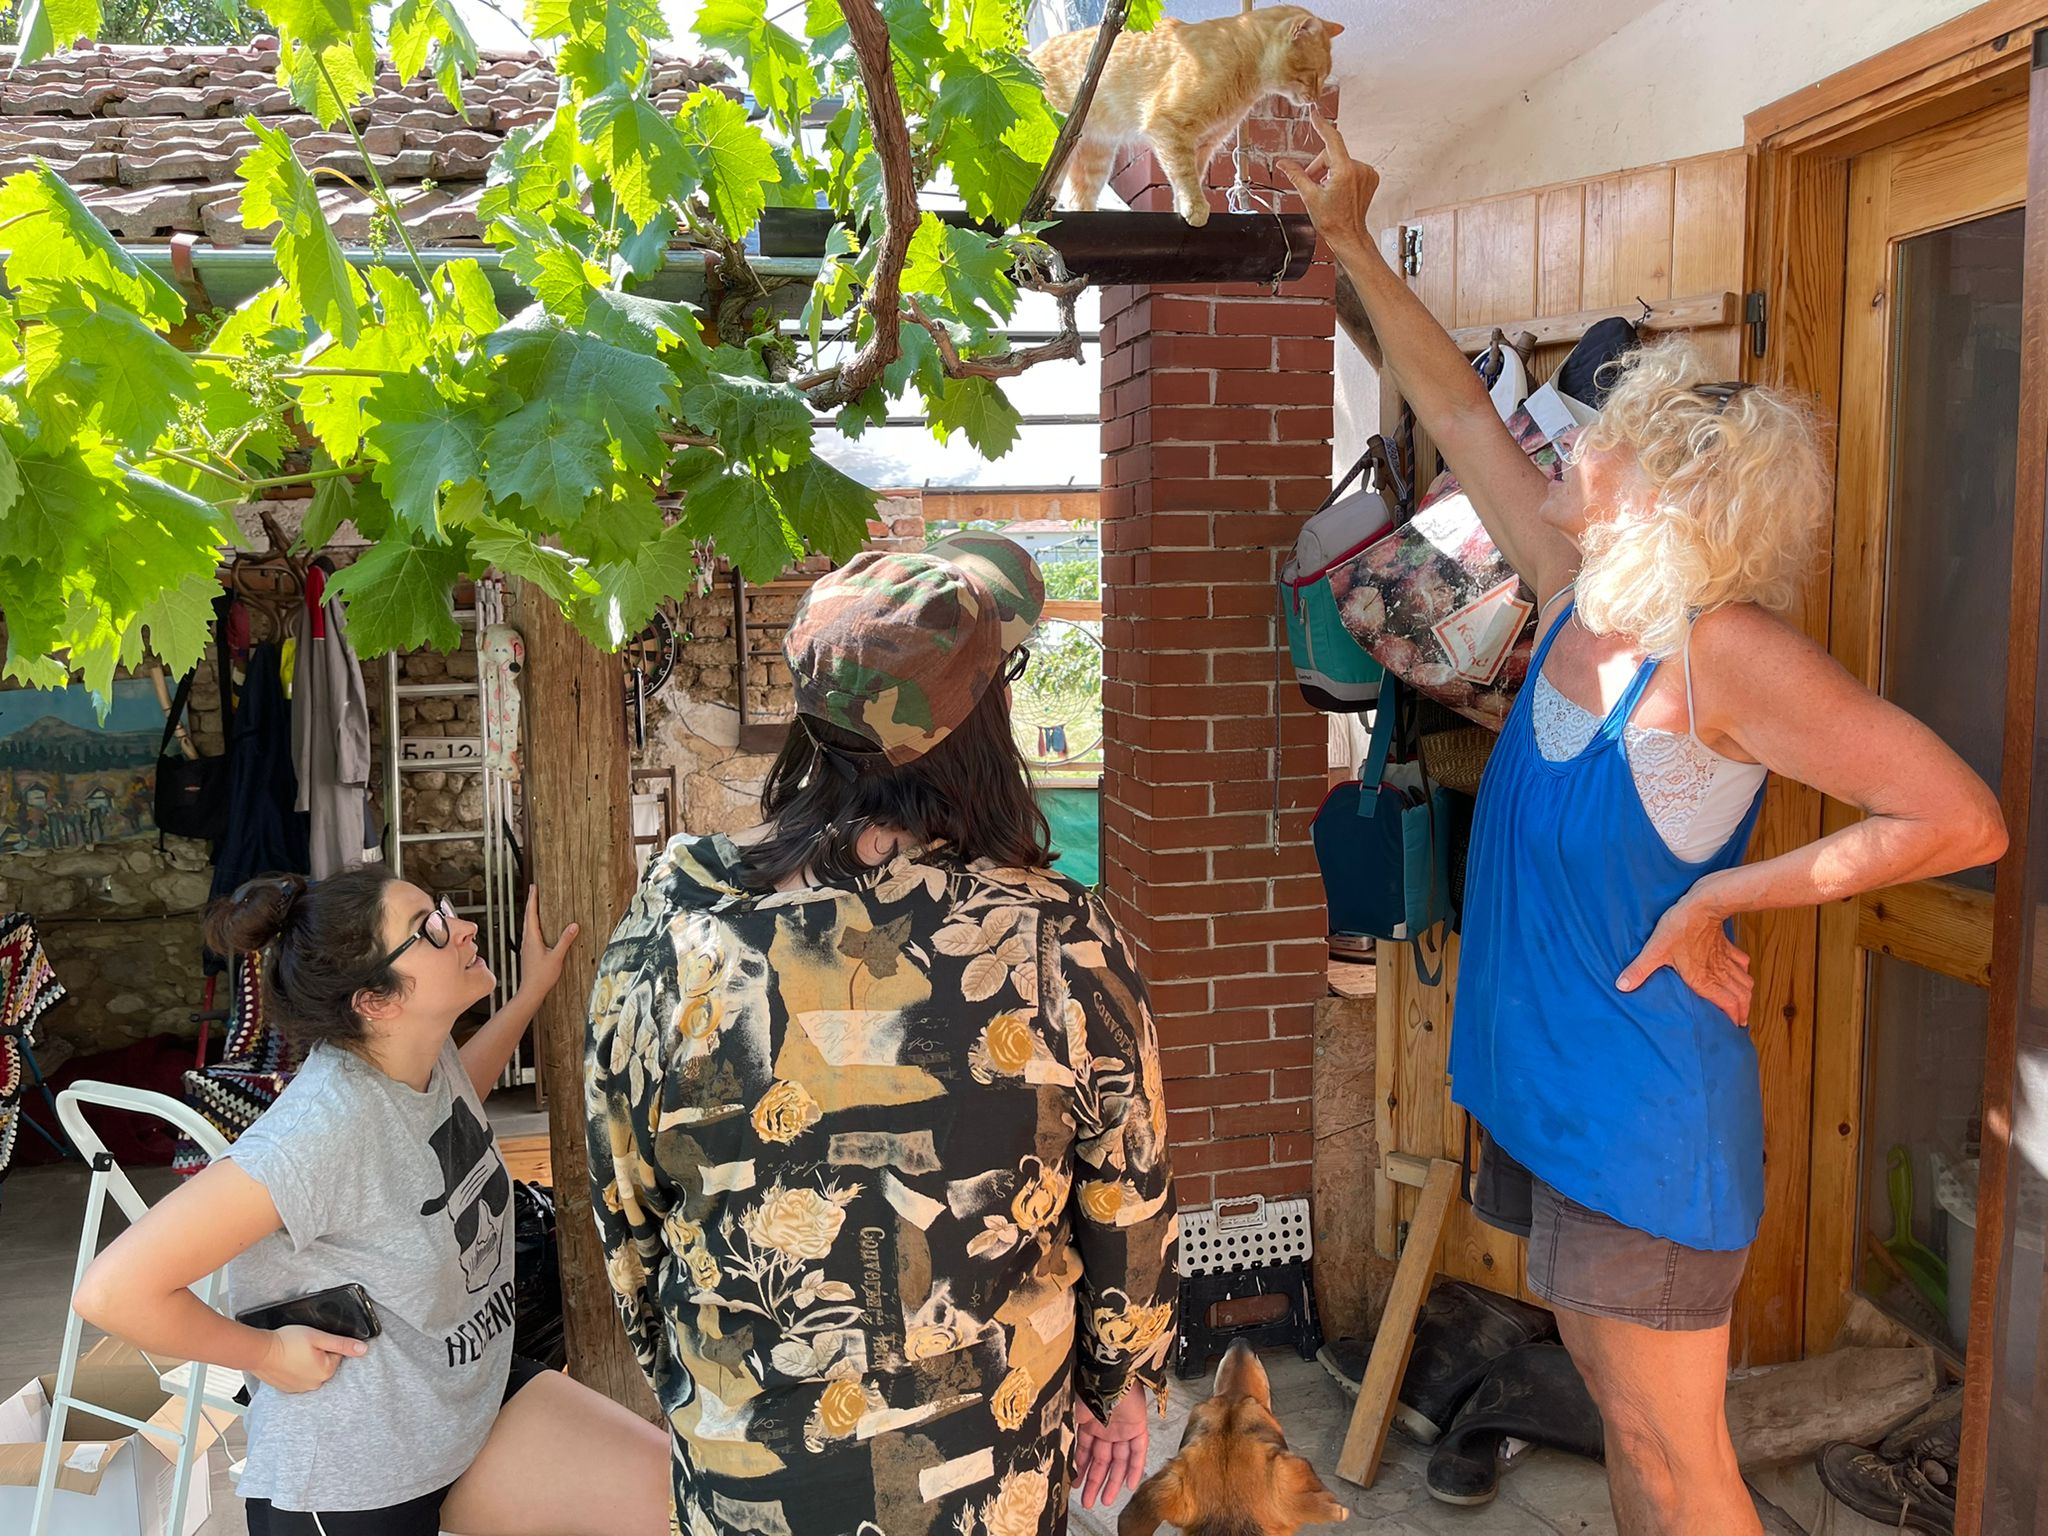
After our regular Monday meeting we had a short tour of the camping site led by Sara. Thank you Sara 😊 I think it is important to point out a few good examples here so more campgrounds or similar private places feel inspired to change the way they manage their facilities. I hope people reading this blog choose Kamping Kromidovo not only because it is a lovely place to stay, with awesome people and good beer, but also because it is a small business promoting good ecological practices.
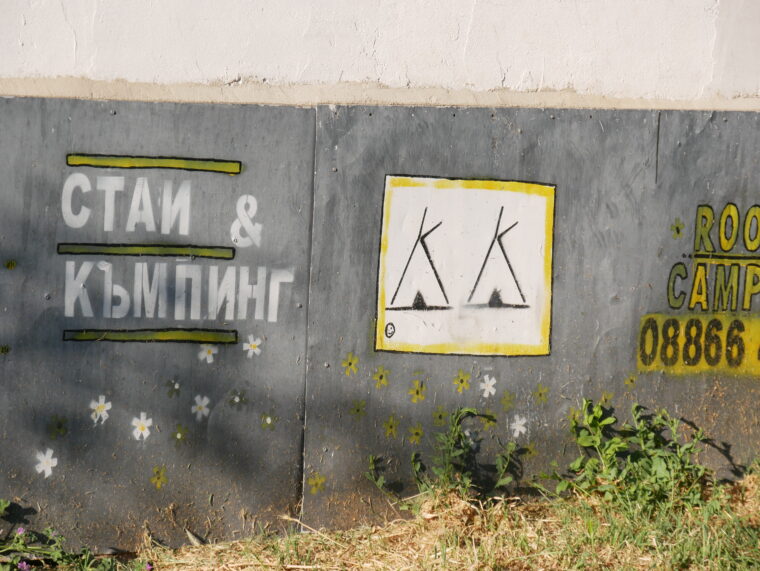
The two tents are actually tipis, with KK for Kamping Kromidovo, Didn`t realize it until Ewan pointed it to me 😂
During our mini-tour Sara mentioned a few of those practices, composting leftover food and food scraps was one of them. The composting system consists of different piles of compost each in various stages of doneness. This is a very common method, known as a humanure composting system. It is a type of system where you have three parts, if you are composting human waste (from compost toilet) with this method over a three-year period it will degrade properly, killing any bacteria. The idea is that when one section of the compost is full, you will start filling the next one, then the next one. On year four you will be able to use the compost from year one. All organic waste can go to the compost bin, meat excluded.
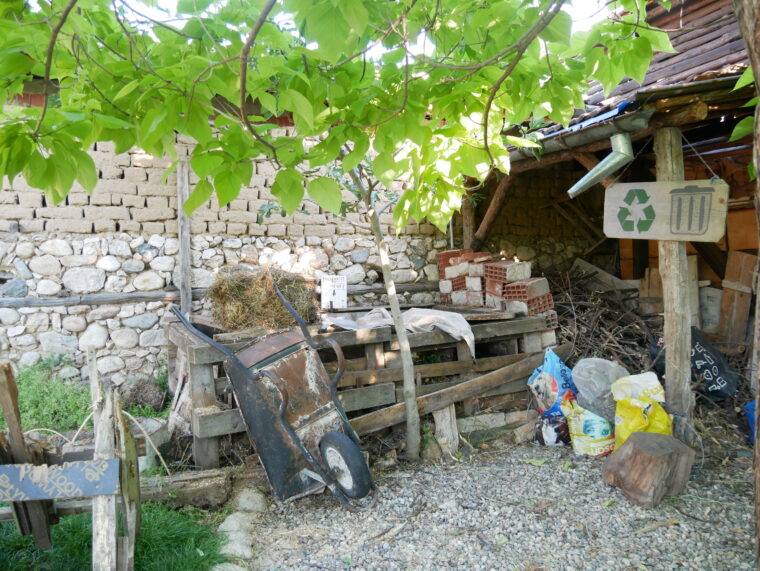
You can find the compost near the main WC area
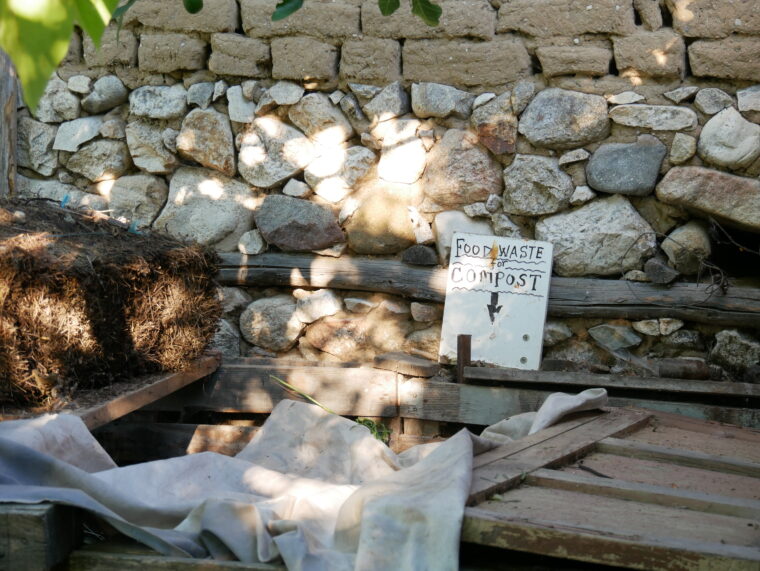
The little sign will guide you where you can throw your compostable waste, pile 1,2 or 3
The compost pile is also an escape for some of us struggling with the heat
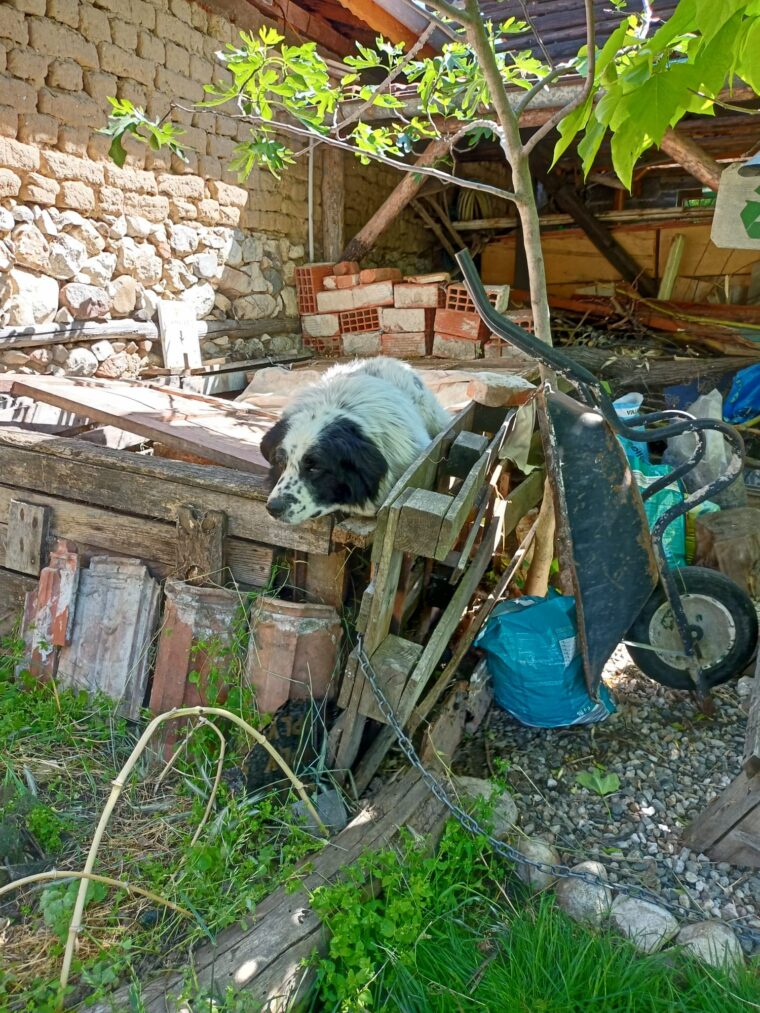
Another important waste management practice Sara and John are encouraging guests to adopt is separating their non-degradable rubbish. At the campsite waste is segregated into different bags, there is a place for the plastic bottles, cans, cartons, plastic bottle caps, metal caps, almost any type of material! The recycling area is also the place for recycled wood and furniture waiting for the right volunteers to turn them into a thing of beauty. There is also a bin for general waste, but hopefully people will use it less and less. When enough recyclables are accumulated John takes them to the recycling center near by.

The recycling area
 The blue IKEA bags are wonderfully reused and turned into rubbish bags.
An important thing Sara explained to us was how they deal with their grey water. Underground is hiding a big storage tank containing the water from the sinks and the washing machine. When the tank is full, the water is pumped on to the field in the areas where watering is needed. If there is an overflow, the water will go to the nearby trees, and there is a noticeable difference of the foliage and growth of the trees which are being watered more frequently. Under the pretty mosaic (on the picture) is the tank for the toilet waste and water. It is a traditional tank, an outdated facility which people don`t use nowadays. The degradation in the tank happens naturally: sludge digesting bacteria brakes down the waste and seeps away.
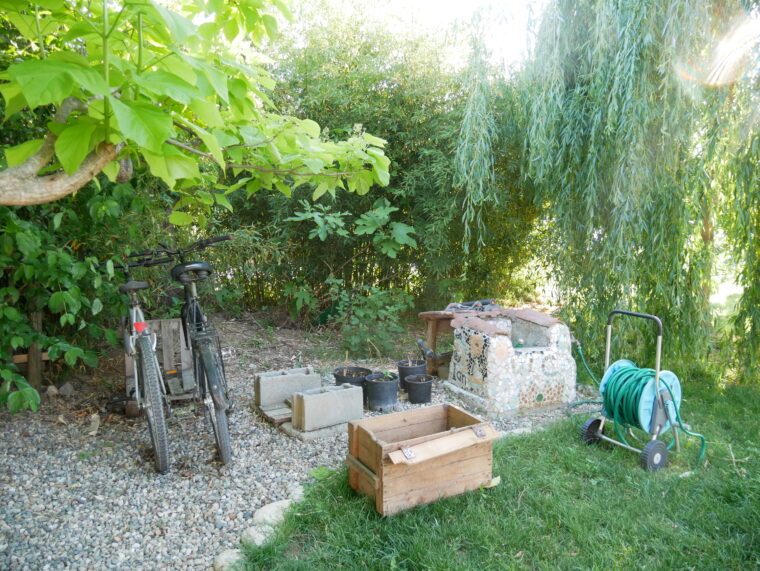
Only after I took the picture I realized that that there is ”WC” sign, can you spot it?
The composting toilet is another great feature of the campsite, in my opinion. The façade is of a traditional Swedish style outdoor toilet, with a little heart on the door. It was built by their second oldest volunteer, a sixty-five-year-old Swedish man, who had experience building them. There is a urine separator, collecting the liquid in a container, so it can be used as liquid fertilizer on the land (using the formula of 1:10, 1 part urine to 10 parts water). The solid human waste dries out with the help of wood shavings provided. All you have to do is sprinkle some sawdust after you finish, as the saw dust prevents any unpleasant odors and helps in the biodegradation of the waste.
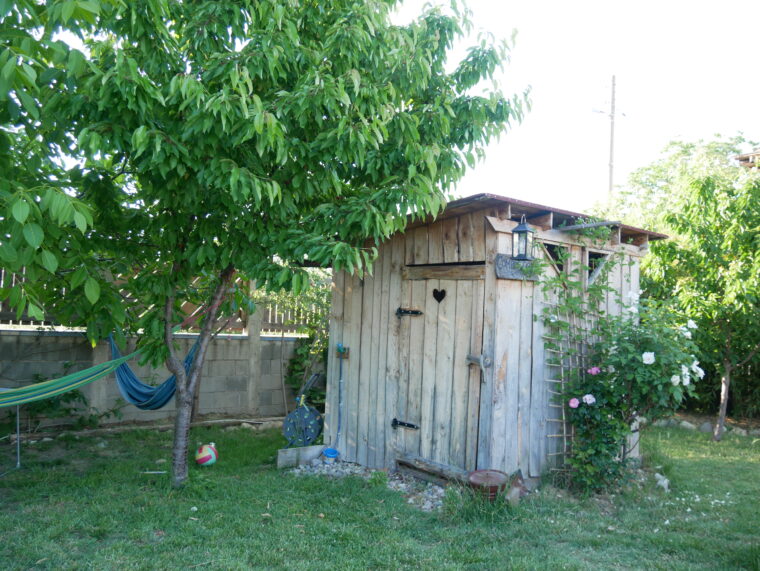
The composting toilet at the bottom of the field
A lot more things can be mentioned here about the good practices that John and Sara have implemented in their business, but I would like to leave it to them to tell if you decide to visit Kamping Kromidovo one day 😊
Making comfrey tea was another thing on the list for this week`s activities. Comfrey (lat. Symphytum or черен оман in Bulgarian) is a shrub that grows almost everywhere in the world and produces clusters of purple, blue or white flowers. Rich in nitrogen (N) and potassium (K) it is famous for its long slender leaves, from which people make this famous magic concoction. But first, a little more information about comfrey and its role in permaculture: comfrey is ‘’dynamic accumulator’’, in permaculture we use the term ‘’dynamic accumulators’’ to describe plants, which gather certain minerals or nutrients from the soil and store them in a more bioavailable form in high concentrations.
Comfrey tea recipe:
I will briefly explain the process step by step:
- Collect your comfrey. Тhere were 5 comfrey plants ready to be used, so I cut 4 and left 1 for the bees! I cut the whole plant, leaving 5-10cm stems, so the plant can come back;
- Roughly chop the stems, flowers and leaves;
- Find an appropriate vessel, preferably a bucket with a tap at the bottom;
- Put everything in the bucket;
- Pour water over the crushed foliage;
- Let it ferment for 3-6 week;
- You will know that it is ready by the smell, believe me you will know when it is ready!
For more information on comfrey and its medicinal and fertilizing uses check the following link: https://www.permaculturenews.org/2010/10/01/the-wonderful-multi-purpose-comfrey-plant/ When the tea is ready you dilute it with 10 parts water and water your plants with it. Comfrey is widely used in permaculture and organic horticulture as a natural fertilizer, it helps the overall growth, encourages better flowering as well as more vigorous growth in perennials and mature fruiting vegetable plants.
During the tour Sara pointed out that a few of their fruit trees have leaf curl, this is a fungal disease during which the leaves distort and change their color, infecting peach, nectarine and almond tress. The disease causes trees to loose their foliage and fruit, young trees are especially susceptible to the this type of fungus.
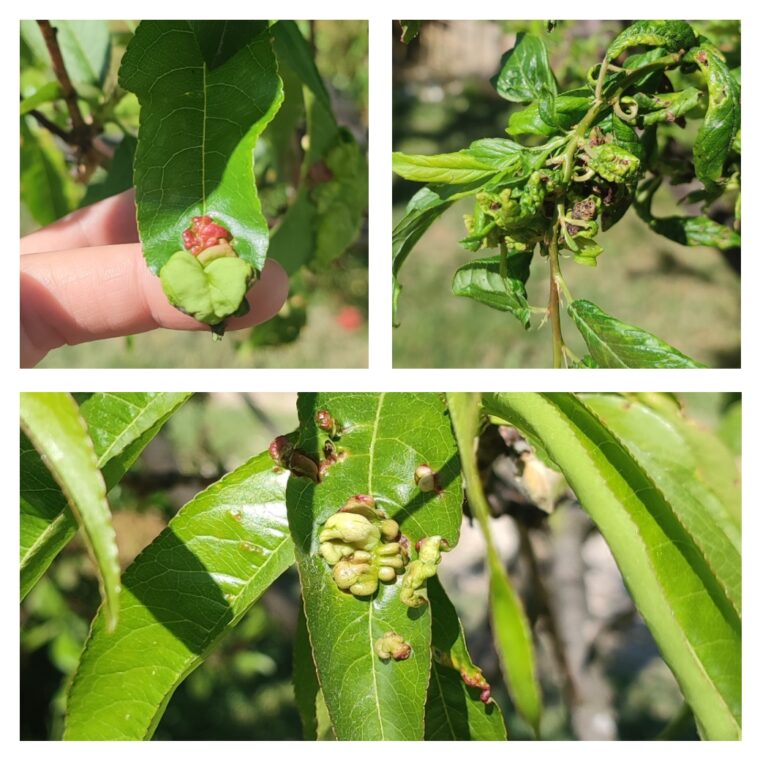
Example of damaged leaves by the fungus
It was a lucky coincidence that the same day we were visited by Filip Harmandjiev and one of his friends Veselin Spasov and I took the opportunity to ask them how to treat leaf curl in these trees. Vesko mentioned that at the moment they are very weak and will need extra support so putting compost at the base of tree is needed, as well as liquid fertilizer and mulch. So on Thursday I put some homemade compost, fertilized them with a little bit of the comfrey tea (I realize that it was too early to use it, but I had no choice), mulched them with straw. I even managed to make a time lapse of the process, you can view it below 👇
Another big job we managed to finish was clearing the beds at the bottom of the campsite. It was a lengthy process, but the three of us worked together to finish before the scorching heat had begun 🙂 You can see the end result below 👇
We also had a session highlighting all the activities we are doing in the project, so we can identify them and record them in the timesheets and describe them in the blog later in the week. Unfortunately, we forgot to document it!
Ewan:
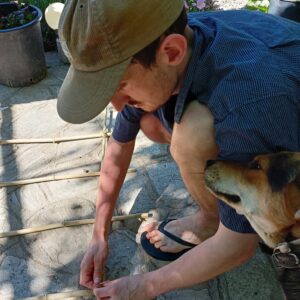
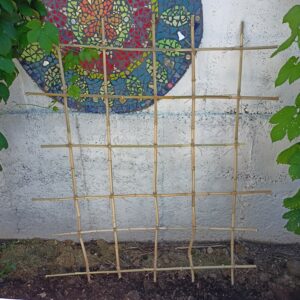
My first full week on the GSV program was full of lots of interesting activities in and around the area of Kromidovo. Tuesday was an eventful day, as I spent the first three hours doing jobs around the garden, such as weeding, picking chamomile (for tea) and making a bamboo structure. The bamboo structure is going to support the recently planted cucamelons, which apparently have a ‘cucumber-citrus crunch’ and are easy to grow. After giving the hosts’ van some TLC, we set off to visit a local farm, which one of the other volunteers will be telling you about in their section of this blog post.
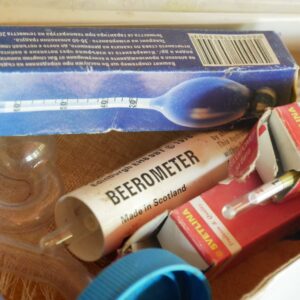
Wednesday was definitely the busiest day of the week, as we were up early to assist in the brewing of some beer by the hosts. This is an activity that I was really looking forward to, as I knew I would find out exactly how the drink is made, from start to finish. Making beer this way has many benefits, you are making it yourself so you know exactly what goes into it, you don’t have to buy it from the big corporations who make millions selling bad quality products, and it tastes so much better.
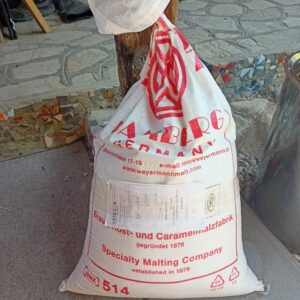
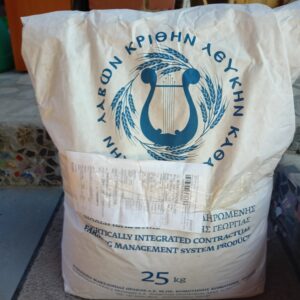
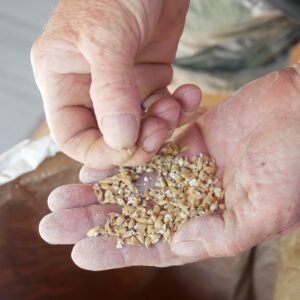
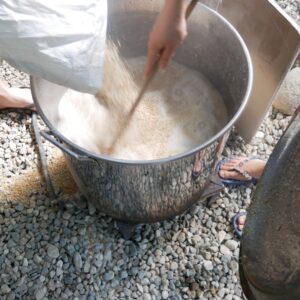
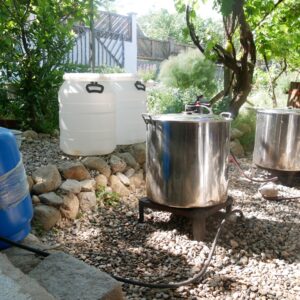
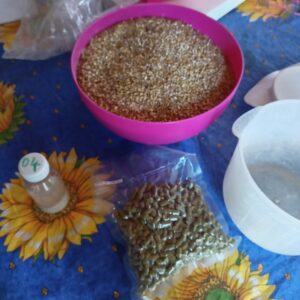
The whole process begins with the gathering of the many tools, pieces of equipment and ingredients required (see images). The four main ingredients in most beers are malted grain (barley, in this case), hops, yeast and water, and I will elaborate more on these ingredients later. The first task was to boil two 50 litre capacity stainless steel pans with 30 litres of water in each, until it reached 70 degrees Celsius. Next comes the ‘mashing’ stage, and this is when the first of our main ingredients is added, the malts. The malts you use really determine what type of beer you are going to end up with. For this brew, we decided to make one pale ale and one Irish-style red ale. So, we used pale ale malts for the pale ale, and a mixture of different malts, including Greek pale, German pale, ‘Cara red’ and roasted barley for the red ale. The amount of malt also determines how strong the beer will be, as the sugars from the malt are metabolised by yeast to make alcohol (and carbon dioxide).
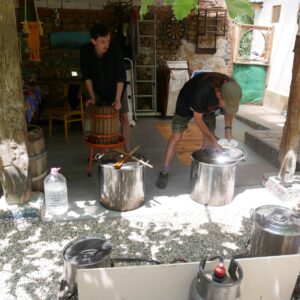
The next stage, and probably the most tedious one, is ‘sparging’. This is when the grains are pressed in some way (the hosts’ use an apple press, but there are many other ways this can be done) to pass the boiled liquid through while leaving the grain behind, while also rinsing it with freshly heated water. You are then left with 50 litres of liquid (wort is its official name) separated from the grains. The grains are then composted, but they could be used for feeding animals if one so wished.
The wort is then put back on to boil for roughly one hour, in order to sterilise it. During this period, at specific times, the hops are added, which, along with the barley, gives the beer it’s particular flavour. Hops are also useful for their preservation qualities. For this brew, we used an American variety called Citra for the pale ale and an English variety.
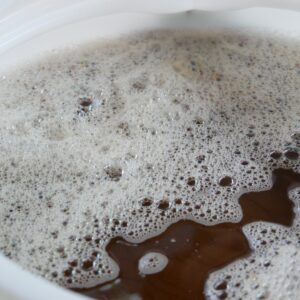
The beer then has to be cooled rapidly, so the protein balances out properly and the end product isn’t too cloudy. While it’s still hot, the beer is susceptible to oxidation and contamination, so this is a key stage in the process. The final step (for now) was to transfer the beer from the stainless-steel containers into some plastic fermenting barrels, which had been sterilised. We placed these barrels in the cellar, where the temperature is better suited during the hot summer months, and also added some yeast. The barrels will sit there for about a week, after this the next stage in the operation will commence, bottling! Stay tuned for more updates in the coming weeks, I’m really excited to see how our beer turns out and give you all a review 🙂
Filipa:
Êro, êro!
Really excited to show you what we did this week as part of this amazing project that we are having in Bulgaria! Apart from what Vyara and Ewan already told you in their section of the blog, we did all these amazing activities regarding the maintenance of the space and also the preparations for a work meeting about permaculture that we are going to have next week, which is pretty exciting, specially to connect and network with connoisseurs of this field from all over Europe. Additionally, and since this project gives us the opportunity to just enhance our own skills and knowledges, I had the chance to practice my drawing and did a base map of the camping site of Kromidovo so the guests could be more familiar with the good practices that the space has and to navigate easily.
Like Ewan mentioned, we had the pleasure to tour for 4 hours Chiflik Livadi, founded by Philip H, in the village of Damyanitsa. In order to document the tour so you could learn and also participate digitally in the whole process, as well as to gather all the good practices of regenerative agriculture that Philip created in this amazing space, I decided to video editing the footage that Misha kindly recorded. I believe that it is an interative way of showing you one of the highlights of our week, specially because I can put into practice one of my hobbies (although I am an amateur) while giving my contribution to this week blog. You can find attached the Youtube video.
I hope you enjoyed our adventures this week and see you really soon with more news! 🙂
![]()